
 Print
Print
|
|
|
Initial Configuration
Before you can connect to a SEL-MCP3 frame using a web browser, you must configure the IP address of the frame. To configure the IP address using the SEL-MCP3 Control interface, follow these steps:
Note: You can also set the IP address on the frame itself if the frame has a front control panel.
- Set Network on the PC to DHCP.
- Connect one end of a crossover or straight-through cable to the Ethernet port on the front of the SEL-MCP3 frame, and connect the other end of the cable to a PC with the required software.
The frame automatically detects the cable type and assigns an IP address to the computer so that they are on the same subnet.
- Launch a browser and type anything in the address bar.
The SEL-MCP3 Control interface appears.
- Select Configuration (the middle part of the banner in the figure below).
- Select Frame — Controller in the tree view at the left of the screen (the panel at the left in the figure below).
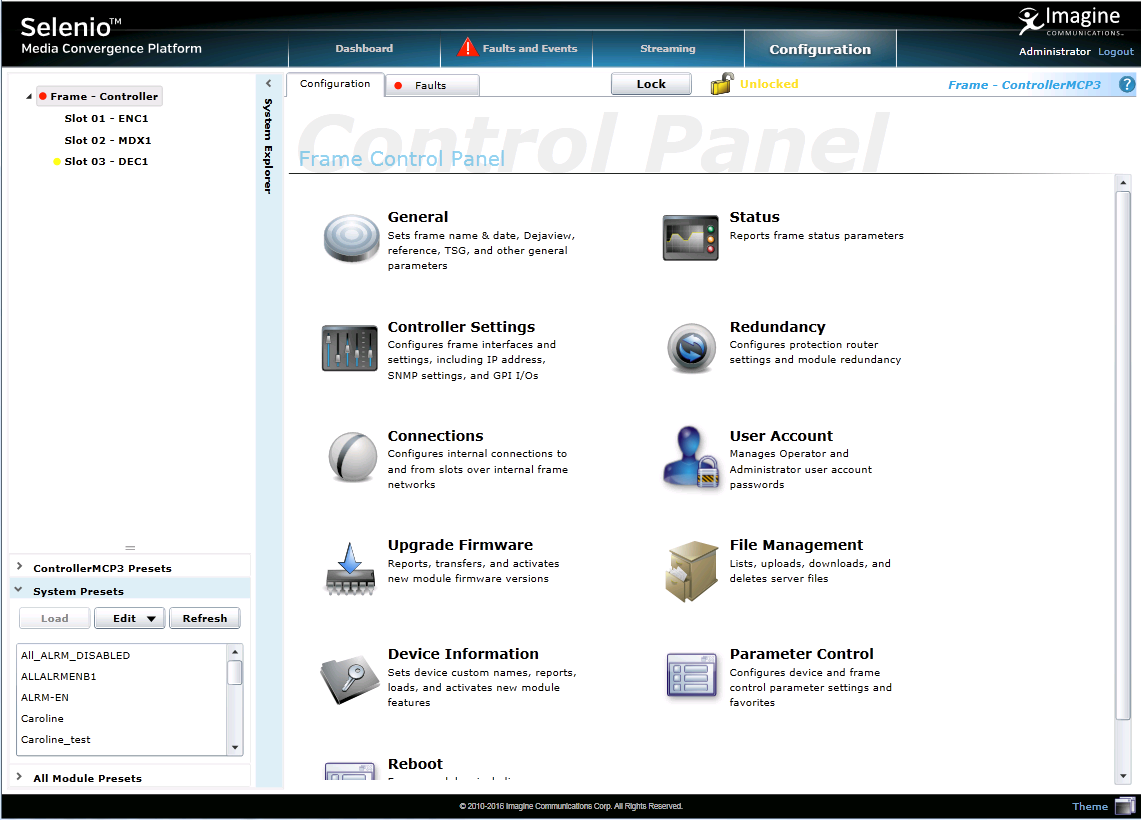
Controller Control Panel
- On the Frame Control Panel, select Controller Settings.
The Control screen appears.
- Click IP Settings, and under Frame IP, enter an IP address for the frame.
The IP address should be consistent with your network’s configuration. For more information, contact your network administrator. The default IP address is 192.168.100.250.
- Connect the SEL-MCP3 Controller module to a switch on your network.
- Follow the instructions in Logging In To the SEL-MCP3 Control Interface.
Note: The IP address is assigned to the frame, not the controller module. When you change Controller modules, you should not have to reassign the IP address.
|
© 2018 Imagine Communications Corp. Proprietary and Confidential |
Return to Top |