
 Print
Print
|
|
|
Frame Installation Procedure
Although the front mounting ears provide the main support for the frame within a rack, you must install additional brackets at the rear of the unit to support the weight of cabling and frame stacking. Attach the brackets to the frame using only the screws that are provided.
- Locate two tongue-shaped frame support brackets and two slotted rack support brackets in the packing box. (See below.)
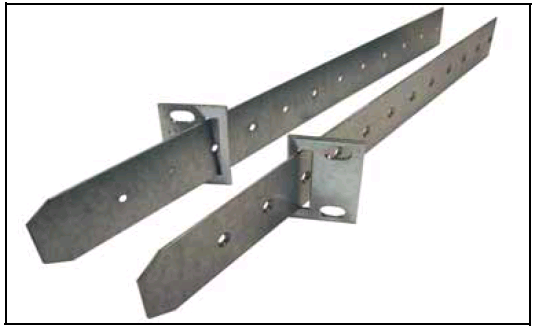
Support Brackets
- Attach the two tongue-shaped frame support brackets to the sides of the frame, using the screws provided in the frame holes. (See below.)
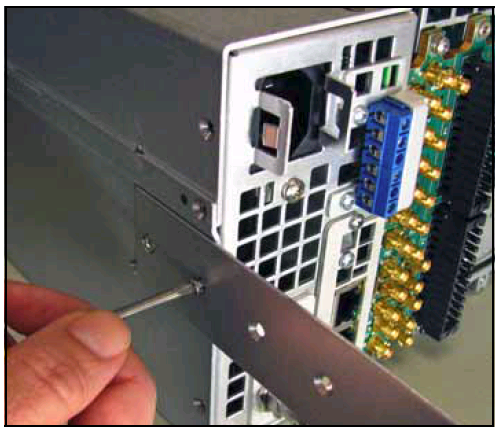
Installation of a Rear Support Bracket

CAUTION
Do not use screws longer than those provided for the rear support brackets. Five 4-40 x1/4-inch flat-head screws are provided for this purpose. Longer screws could cause internal damage.
- Port brackets at the rear of the rack, with the slots facing inside.
- Push the Selenio Frame into the front of the rack, ensuring that the frame support brackets slide into the slotted rack supports.
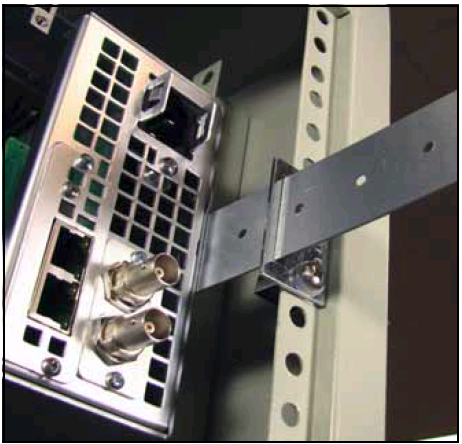
Sliding Rear Support Bracket
- Attach the front of the frame to the rack, using the appropriate rack screws.
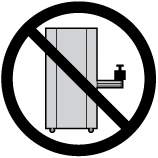
CAUTION
Do not use slide/rail mounted equipment as a shelf or a work space.
- Close the front cover to ensure to ensure proper cooling.
- Attach all of the necessary cable connections.

WARNING
Frames using DC power supplies MUST be grounded using the external ground lug located on the back of the frame. See DC Power Supply Installation.
|
© 2018 Imagine Communications Corp. Proprietary and Confidential |
Return to Top |